
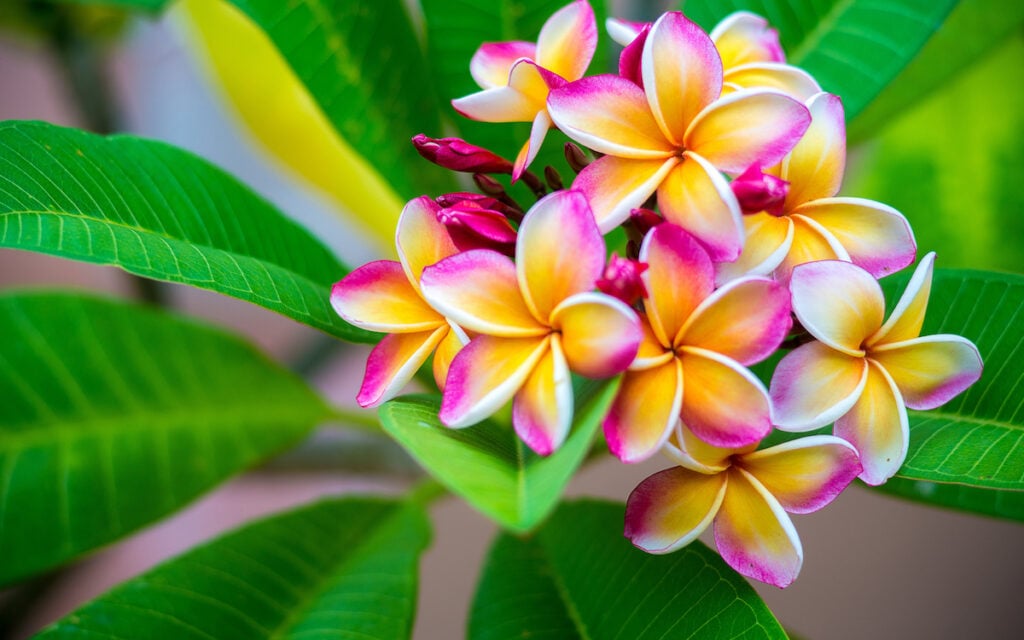
Plumeria, a shrub-like flowering bush, is a standard colorful display primarily seen in tropical climates. But did you know you could have this stunning plant in your garden? Better yet, they can be propagated to create an authentic Hawaiian-like experience in your own backyard.
Keep reading to learn how to propagate plumeria, the tools you’ll need, and a simple, easy-to-read step-by-step process. Before you know it, you’ll be making leis for your next Hawaiian-themed dinner!

Plumeria Propagation 101
When propagating plumeria, there are only two methods you can use. One is by planting the seeds themselves, and the second is by cuttings from a mature plumeria plant.
In this article, we are focused on propagating plumeria through cuttings and how easy the process truly is!
Cuttings
The best time to propagate plumeria is during the spring and summer months when the weather is warm, and humidity is in the air. If you try propagating plumeria late in the season or during winter, there’s a good chance the mother plant has already gone dormant.
Once the mother plant is dormant, it is unlikely that your cuttings will root, and if they do it will take a much longer time to do so.
When looking where to cut, you can cut any part of the branches to propagate. Unlike most other plants where you need to identify leaf nodes, the plumeria plant isn’t as specific.
Just ensure you take a healthy branch and cut at least 4 inches of healthy green stem. Be sure to get a nice clean cut, as a damaged cutting will be too stressed to root. Along with getting a clean, straight cut on the bottom, it’s essential to cut at a downward angle on the top of the branch to ensure there will be no tip rot.
These cuttings are especially prone to rot, so make sure you’re using a sharp pair of pruning shears or a sharp gardening knife that has been sanitized in hot, soapy water to prevent any type of cross-contamination.
How to Propagate Plumeria From Cuttings: Step By Step
Once you have your plumeria cutting that is at least 4 inches long and has a straight bottom cut and an angled top cut, you’ll need to allow the cutting to cure.
Curing a cutting is just the process of removing any of the outer foliage and letting the cutting sit in an open space with good airflow to dry out. If you skip this step in propagation, your cutting will rot once planted.
This process can take several days, and you’ll know the cutting is fully cured once the wound has been sealed.
Once cured, dip the bottom, or the flat end, of the plumeria cutting in a bit of rooting hormone, and plant in a pot with quick draining and drying potting soil.
To ensure a healthy propagation process, it’s vital to use a freshly cleaned nursery pot and brand-new potting soil so there is no chance of contamination that could kill your cutting.
Use a 4-inch pot to keep yourself from overwatering the cutting, as too much water will cause the cutting to rot quickly. A fine misting of water over the soil to keep it slightly moist is perfect.
Care Tips For Healthy, Happy Plumeria Propagation
Now that you have your cutting in the pot and slightly water, you may be wondering what to do next Here are a few tips to keep your plumeria cutting in tip-top shape!
Keep The Air Around The Cutting Humid
Depending on where you live or where you are trying to propagate plumeria, you need to keep the cutting in a humid environment of at least 40%.
If you live in a semi-tropical area, this should be very easy to do just propagating plumeria on your back porch. In other climates, you may need to invest in a greenhouse if you want to keep your tropical plants happy.
Keep Soil On The Dryer Side
This may feel wrong because you want to nurture your new cutting and make it grow with all the water it needs! But when propagating a plumeria cutting, the last thing you want to do is overwater.
Too much water causes the cutting to rot, even if you have quick draining and drying soil.
Even if the soil is kept damp, it will rot the cutting. The best practice is to get a plant mister and mist the soil so that the top layer is wet and only water once that layer has completely dried out.
You’ll know you have achieved plumeria propagation success when new growth occurs on the top of the cutting.
Propagating Plumeria: Plant Care

Soil
Soil is most important when dealing with plumeria plant care. This plant needs quick draining and quick drying soil.
You can make this potting soil yourself or purchase moisture control, tropical, or even cactus and succulent potting soil to ensure you have the best environment to root in for your plumeria plant.
Watering
Once matured from its cutting stage, this tropical plant can be watered about once a week. Don’t water so much as to soak the soil, but just enough to keep it moist while letting it dry out during waterings.
Fertilizing
When choosing a fertilizer for your plumeria, choose one that is specially formulated for flowering shrubs. This will have the added benefits and nutrients your plant needs.
Light
Plumeria needs a lot of sunshine to keep up with those big, beautiful blooms. When growing plumeria, you need to make sure it is placed in a sunny area that gets a bit of relief from the sun during mid to late afternoon.
Temperature
Since these plants grow in tropical areas, they need temperatures between 65 and 80 degrees Fahrenheit to grow and bloom. Anything under 50 degrees will cause the plant to go dormant until the temperatures rise again.
Humidity
Propagating a plumeria cutting isn’t the only time this plant needs a humid environment. They prefer a 40 to 50 percent humidity level when growing and producing flowers.
If you live in a less humid environment, you may need to look into a greenhouse to keep your tropical plants thriving or give them a good misting once daily.
Frequently Asked Questions: Propagating Plumeria

Can you just cut a branch off a plumeria bush and plant it?
You could, but the chances of it rooting and growing into a mature plumeria plant are slim. The cutting must be appropriately cut, cured, and prepared to offer the best chance of becoming a beautiful bush.
Can plumeria be rooted in water?
The chances of this being successful are slim but possible. If you have multiple cuttings going, you could try this, but it is proven the best way to propagate plumeria is in soil.
How deep should you bury plumeria cuttings?
The cutting should be buried about 3 to 4 inches deep into your fresh potting soil. Be sure to push the soil down with your hand to create some stabilization.
Can you grow plumeria indoors?
Absolutely! With the right care, light, and humidity levels, it’s simple to grow plumeria indoors, and they do great in containers.
Start Propagating Plumeria!
You can easily propagate plumeria with a few basic tools and some tender loving care. Anyone can do it, and with these simple instructions, what are you waiting for?
Check out more of our how-to guides for propagating your already-loved plants to create an oasis worth Instagramming.
- About the Author
- Latest Posts

Lauren has three main passions: her family, writing, and gardening! Lauren has spent countless hours in her garden tending to different plants, whether those be beautiful flowers, vegetables, or different perennials.
Rest assured that if it concerns plants and gardens, Lauren has got you covered. So, when needing advice or looking for the best new gardening gadget, you have come to the right place and the right author.