
Old Fashioned Apple Crisp is such an easy and delicious dessert that will have you going back for more. The best part is, you probably have most of these ingredients in your pantry right now.
I will show you how easy it is to put together this crowd pleasing dessert that even the most novice of bakers can master. The smell that will end up dancing around your home is proof enough why you should try this recipe. Let’s dive in, shall we.

Delicious Dessert That’s Perfect All Year Round
Two of my personal favorite things to bake with are apples and cinnamon, it just brings a sense of happiness and warmth to the soul. Plus, it is such an easy recipe to make and you get a multitude of flavors, from the sweet warm gooey cinnamon sugar apples, to the buttery crispy sweet oat topping, I mean, who could resist? Also, any dessert I can add ice cream to is a clear winner in my book.

How To Prepare An Old Fashioned Apple Crisp – Step by Step
- Start off by preheating your oven to 350 degrees Fahrenheit, and butter a 9×8 baking dish. I prefer to use glass baking dishes but feel free to use whatever you have on hand.

- Next, you will want to thinly slice 4 large honey crisp apples. Make sure all of your slices are of consistent sizes that way when baking they will all be cooked to perfection.
- After slicing all of your apples, toss them into a mixing bowl, add in your lemon juice, granulated sugar, nutmeg, and cinnamon. Give it a good stir so that all your apple slices are evenly coated. Place them into your baking dish in a nice even layer.

- Now let’s make that amazing crispy sweet oat topping! First, cube up one stick of very cold butter. The colder the better, we do not want the butter to melt or we won’t get a golden crispy topping

- Into the bowl of butter, we will then be adding in our flour, brown sugar, rolled oats, and cinnamon.
- Take a fork or if you are like me and do not mind getting dirty use your hands (cleaned of course) to mix up all of your ingredients. You want to have small chunky bits of butter throughout your mixture.

- Once you have that all you need to do is add the topping in an even layer on top of your apples, place it on the middle rack in your preheated oven for about 40-50 minutes until your topping is a nice golden brown.

Do You Have To Use Honey Crisp Apples?
In short, no. Personally, I love the taste of Honey Crisp Apples, so in my baking that is usually what I use because they are so sweet and juicy. Another apple that is great for baking is Granny Smith Apples that are also a juicy and sweet tasting apple.
Can You Peel The Apples?
You most definitely can peel the apples if you would like but you do not have to! Unpeeled apples give this apple crisp a homey and rustic feel. But you could absolutely ditch the peels if you prefer!
Could I Make This Ahead And Serve It Later?
Old Fashioned Apple Crisp should always be served warm, but you could prepare the apple crisp, keep it in the refrigerator, then bake it later when you are ready. The lemon juice added will help prevent the apples from discoloring and will keep them fresh even though they have already been sliced.
After your apple crisp is baked you can keep it in an air tight container, or cover your baking dish tightly and store it in the fridge for leftovers later. I just pop mine in a bowl and heat it up in the microwave for about a minute before putting some vanilla ice cream on top.
Excited for more apple content? Visit my apple trees page to learn more about apple planting, growing, picking, cooking, and more!
Still hungry for more? Then discover our other fruit recipes to stock up your kitchen with nature’s healthy and tasty goodies!
Old Fashioned Apple Crisp
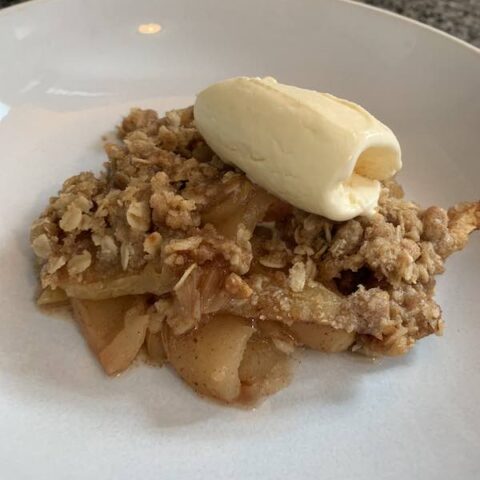
A fresh delicious dessert with warm cinnamon apples and a buttery crispy oat topping.
Ingredients
Filling
- 4 Large Honey Crisp Apples
- 1 tbsp. Granulated Sugar
- 1 tsp. Cinnamon
- 1/2 tsp. Nutmeg
- 1 tbsp. Lemon Juice
Topping
- 1/2 Cup Flour
- 3/4 Cup Brown Sugar
- 3/4 Cup Rolled Oats
- 1/2 Cup (One Stick) Butter
- 1/2 tsp. Cinnamon
Instructions
- Preheat oven to 350 degrees Fahrenheit.
- Grease a 9x8 baking dish and set it to the side.
- Finely slice all four apples removing the core, you can peel the apples if you would prefer but you don’t have to.
- Add your sliced cored apples to a large mixing bowl.
- Top your apple slices with the granulated sugar, cinnamon, nutmeg, and lemon juice. Give them a good mix so that the apples are evenly coated.
- Place your apple mixture into your greased baking dish in an even layer.
- Dice up the cold butter into small cubes and add them into a separate mixing bowl.
- In the same mixing bowl with the cold diced butter add flour, brown sugar, rolled oats, and cinnamon.
- Using a fork or your hands mix your butter mixture so there is small bits of butter throughout the topping mixture. Should be about pea sized or a little larger, do not over mix.
- Add the topping in an even layer on top of your apple mixture.
- Place baking dish into the preheated oven on the middle rack uncovered for about 40-50 minutes. Make sure the topping is nice and golden before removing from the oven.
- Take out of the oven and let it set for a few minutes, it is at its best served warm.
- Optional: Serve with a generous amount of vanilla ice cream on top to make it even more delicious.
- Enjoy!
Notes
Remember this dish is best served warm to get those amazing aromatic flavors. You can serve with a scoop of ice cream or even whipped cream, but, it is delicious on its own as well!

- About the Author
- Latest Posts

Lauren has three main passions: her family, writing, and gardening! Lauren has spent countless hours in her garden tending to different plants, whether those be beautiful flowers, vegetables, or different perennials.
Rest assured that if it concerns plants and gardens, Lauren has got you covered. So, when needing advice or looking for the best new gardening gadget, you have come to the right place and the right author.