
If you grew up eating the soft and gooey Honey Buns made by Duchesse and Little Debbie or just like yummy honey desserts, this article is for you!
Take a simple vending machine treat to a whole new level with this pull-apart honey bun cake recipe!
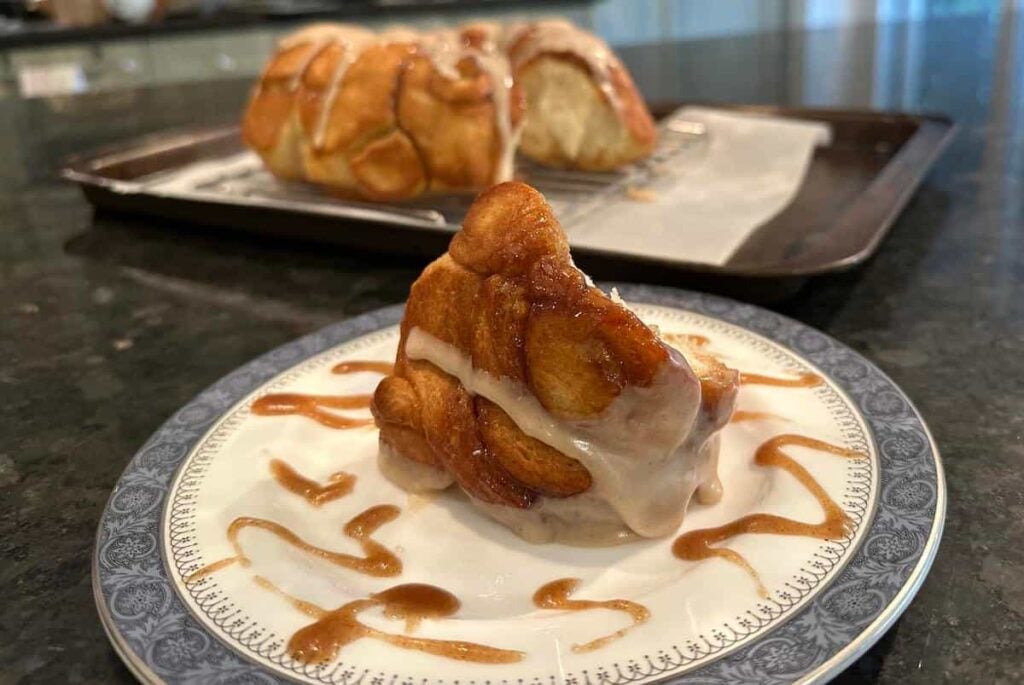
Making Our Honey Bun Cake Recipe
Mixing the Dough
Start by stirring together four cups of flour, two and a half teaspoons of instant yeast, a quarter cup of sugar, and a teaspoon of salt in a large mixing bowl. If you only have the packets of yeast, use one and a half of them.

Then heat one and a quarter cups of milk in your microwave. When you stick your pinky into the liquid it should feel nice and warm, but not so hot that it’s uncomfortable.
Crack one egg into the milk and whisk the two together.
Now, pour your milk mixture into the bowl with your dry ingredients and use a wooden spoon to blend everything together.

You’ll need a tight grip on your spoon as you make consistent, circular sweeps of the bowl. Don’t worry about trying to catch all the flour. The type of dough used in this honey bun cake recipe should pick up all the flour it needs on its own.

Pull the spoon from the dough ball, scraping off any dough as you do, and dump the ball onto a floured work surface.

Kneading and Rising
Knead the dough for the next five to ten minutes. Grab the far end of the dough and fold it in towards the middle of the ball. With the heel of your palm, press down and out. Pushing the folded piece into the dough as it rolls away from you.

Then, spin the ball and repeat the process until the ingredients are completely incorporated. To make the best honey bun cake with this recipe make sure the dough feels soft and pliable by the end.
Now throw it back into your bowl, cover it with a towel, and leave it to double in size. This should take about an hour.

Temperature is a really important factor during the rising period. You don’t want any drafts around your dough or any uneven heat distribution. Find somewhere that’s nice and warm and as enclosed as possible.
While the dough is rising, start on the filling from this honey bun cake recipe.
The Filling
Cook this on medium heat, stirring occasionally, until the honey starts to boil. Then immediately turn off the heat and add one-eighth of a teaspoon of hot water.

Such a small amount of water might seem like an unnecessary add, but it will work as the emulsifying agent in this sauce. Without it, the butter and honey will separate and the filling won’t become that thick and gooey consistency that you want. So make sure to mix it in well.
The filling needs to cool fairly quickly, so it’s best to take it out of the hot pot. A gravy boat, or something else with a spout for easy pouring, is best.
This recipe uses a bundt pan for its honey bun cake. If you don’t have one, a seven-inch circular cake pan will work! Just don’t forget to butter the sides and bottom.

Before continuing to the next step of this honey bun cake recipe, preheat your oven to 350º Farrenheit using the bake setting.
Rolling and Assembling
Now it’s time to grab your dough and get rid of all the gasses that the yeast has released. First, punch the middle of the dough ball to release the large air bubble at its center. Then, pull the sides from the bowl and dump it onto a floured work surface to restart your kneading process.

You’ll need to use a bit of arm muscle to get rid of all the pockets of air that have formed. When the dough stops popping, it’s ready to be rolled out.

With a firm grip on the handles of your rolling pin, put your weight behind each rolling motion. Try and make it into as much of a rectangular-like shape as possible, and a quarter of an inch thick.
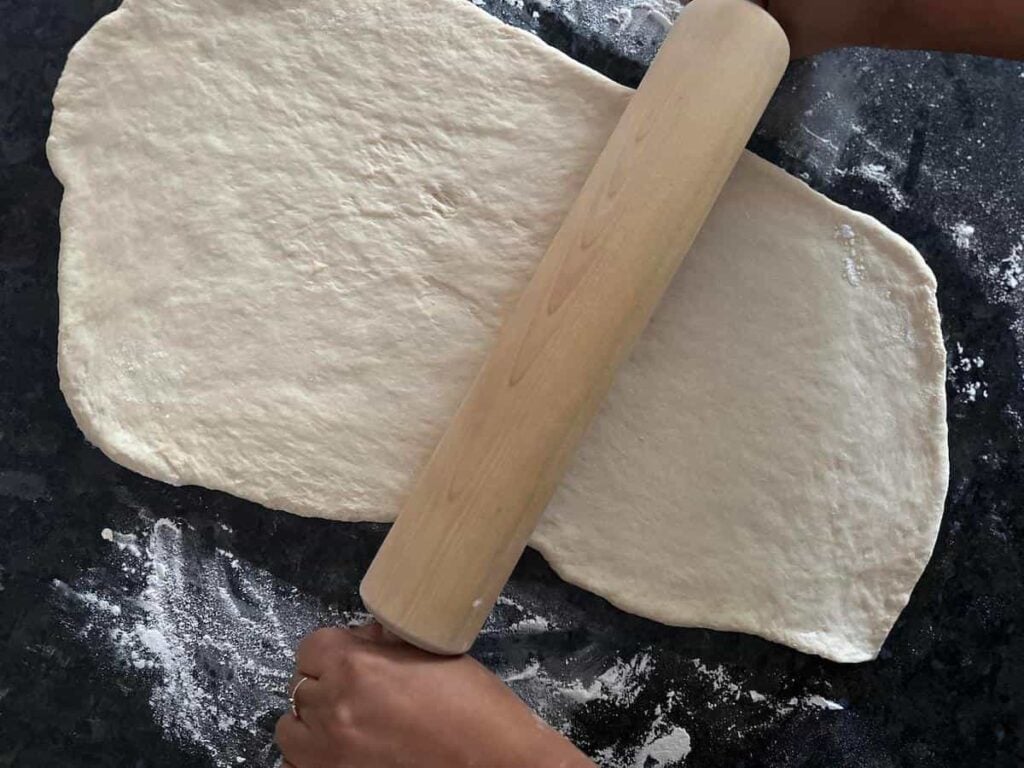
Pour filling onto the sheet of dough, being sure to reserve some for basting and glazing later. Use the back of a spoon to spread it evenly. With a pizza cutter, slice your dough width-wise into inch-and-a-half-sized pieces. This honey bun cake recipe should create 10 to 12 individual rolls.


Gently roll the slices, pinching the end into the roll to seal it. Then, set each piece along the bottom of your cake pan. It’s OK if you have to squeeze them in.
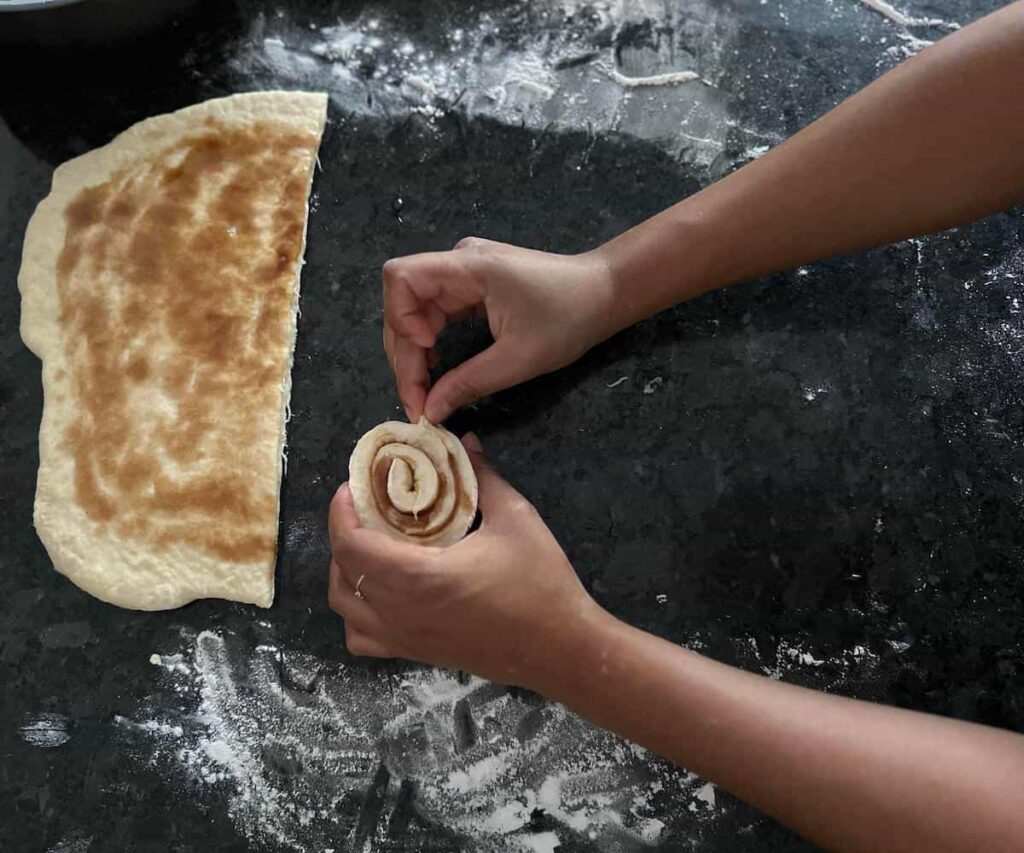
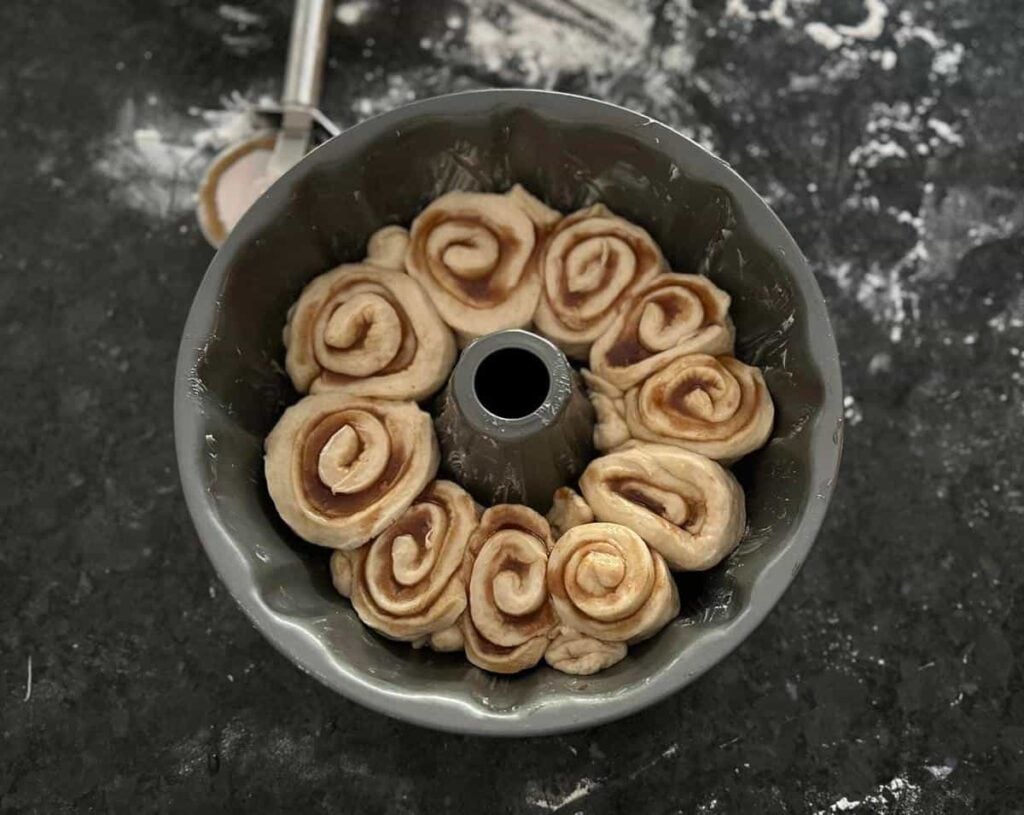
Be sure to work as quickly as possible on this step. The dough will already be rising again by the time you finish, which will make it harder to work it into the pan.
Leave the cake to rise for another 10 minutes so that all the spaces between each roll fill nicely. Then, put it in the oven and set your timer for 15 minutes.

While your cake is baking, prepare the glaze from this honey bun cake recipe.
The Glaze
Add one cup of powdered sugar, two tablespoons of your reserved honey filling, 2 tablespoons of warm milk, and one teaspoon of pure vanilla extract to a small bowl. Whisk these together until fully blended.

After 15 minutes, take your cake out of the oven and use a basting brush to apply a solid coating of the remaining reserved filling along the top of the cake.

Only ten more minutes of baking in this recipe before your honey bun cake should come out looking a beautiful golden brown!
Poke a knife into one of the rolls to see if it comes out clean and make sure the dough is fully cooked. Then upend your cake onto a cooling rack. You will want one that comes with a baking sheet since some of the filling will likely drip out of it.

Let your cake cool almost completely before pouring on your glaze. Instead of trying to coat the top, simply pour along the middle and let the glaze drip down the sides.

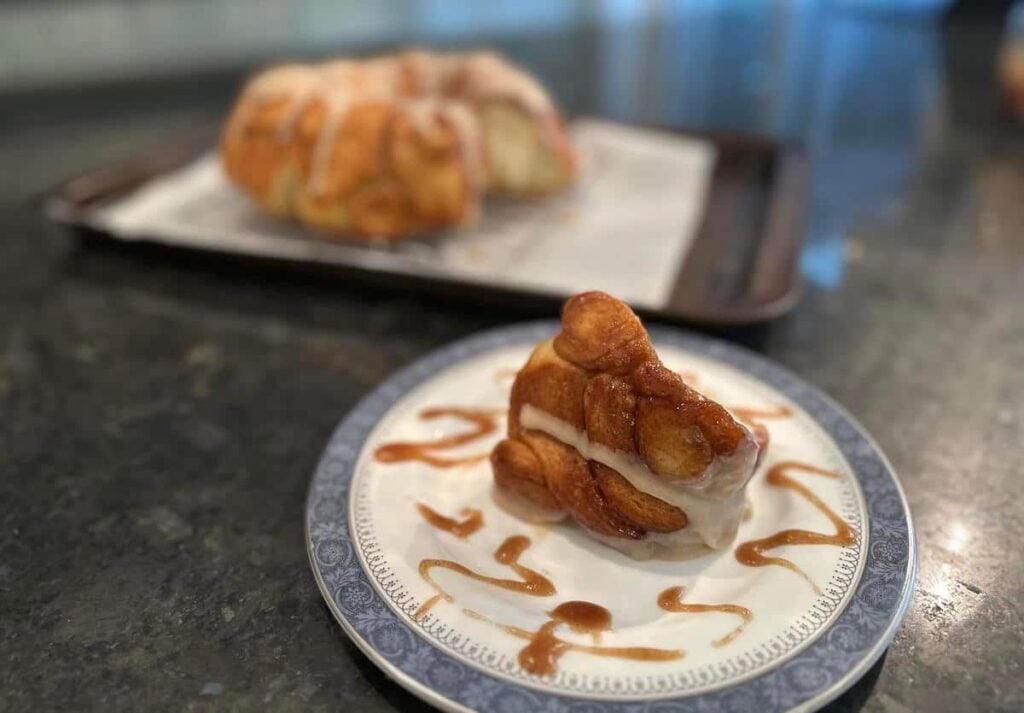
Finish off this honey bun cake recipe by pulling off one of the buns and enjoying the gooey, honey yumminess!
Substitutions
This honey bun cake recipe has endless options for substitutions. Almost any filling will work with this dough.
If you’re looking for a savory treat, try using a mixture of cheese and pesto as your filling. Or you can add some fruit to the honey filling and make it a bit more tart!
How to Store
Stored in a cake stand, a honey bun cake made with this recipe will last for about five to seven days before becoming too stale to eat.
If you want your cake to last longer, store it in an air-tight container in the fridge. This will allow it to last closer to two weeks.
Enjoy An Innovative Take on the Honey Buns With This Cake Recipe!
When you can’t decide between the doughy deliciousness of a good bun and the visual aesthetic of a beautiful cake, this honey bun cake recipe has you covered!
And if you’re looking for other fun ideas to use in the kitchen, check out our Recipes page!
[mv_create key=”145″ type=”recipe” title=”Easy Pull-Apart Honey Bun Cake” thumbnail=”https://minnetonkaorchards.com/wp-content/uploads/2023/10/Canva-73.jpg”]

- About the Author
- Latest Posts

With a bachelor’s in Communication Studies and months spent working in kitchens around the world, Liv Headley joined the Minneopa Orchards team ready to share recipe ideas that are sure to have you coming back for more.
From what ingredients can help tenderize that tough cut of meat to choosing the perfect plant variety to cater to your tastebuds, Liv’s passion for all things food-related will bring new and exciting angles to your cooking experience!
Liv can be reached at livheadleyfreelance@gmail.com