
If you love plums as much as I do, then you’ll want to know how to can plums to enjoy them for as long as possible. Luckily, by canning plums, you can preserve them to enjoy year-round, either as an additional ingredient for dishes, or as a tasty snack.
When it comes to canning plums, there are a few different ways to get the job done right. You can choose to can them as whole plums (with or without the pits) or as halves; they can also be canned in different liquids such as syrup, juice (both of which are great for adding sweetness), and water.
At my house, we can plums to be able to create jams, wine, butter, and more, during the holidays and beyond. But, you can use your plums how you’d like. Regardless of the purpose, we’ve put together this guide to teach you how to can plums properly:
Choosing What Plums to Can & Preparing Them
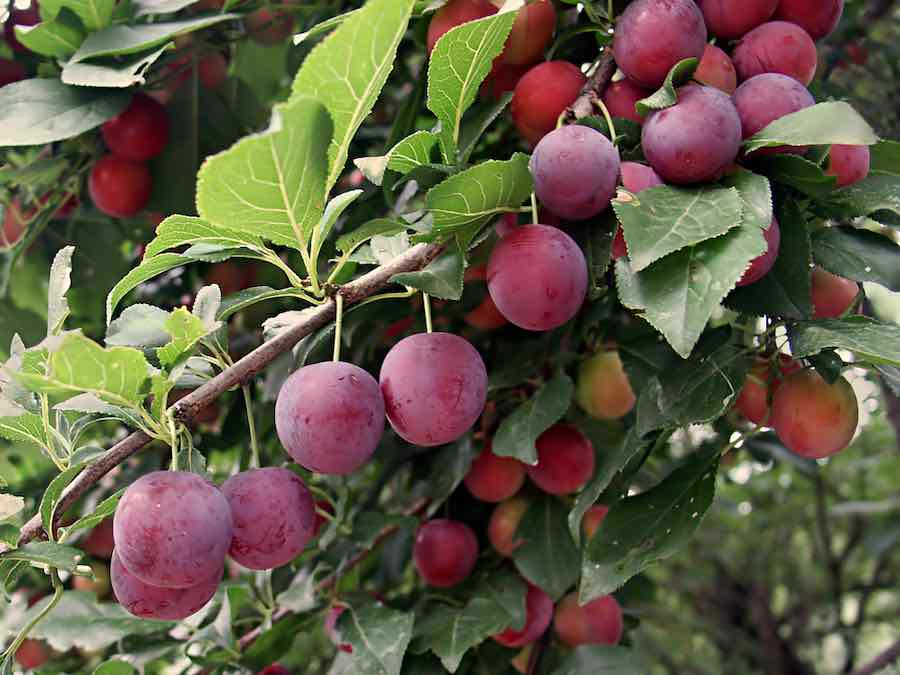
Unlike a lot of other fruits and vegetables, plums hold up substantially well when canned. In fact, I prefer canned plums to canned-peaches (which is another staple in canned fruit) as they tend to be more firm and maintain their shape no matter how you choose to can them.
The best part is, you don’t need to cut up your plums to can them. You can can them whole (with the pit either removed or still intact) to make the entire process easier. It’s important to note, though, that if you choose not to remove the pit before you can the plums, this will become a job you will need to tackle later on when you’re ready to use them.
Damsons and wildplums (which are small clingstone fruit) can be depitted easily with a small cherry pitter. If you’re canning whole plums, it’s important to prick the outsides of the plum skin using a fork, knife, or toothpick. This will help prevent the skin from popping as the plums are preserved and will help them hold their shape better once you’ve placed them in the jar. Larger, freestone plums can be cut in half. The pit will be easily removable from here.
No matter if you choose to can plum halves or can your plums whole, it’s important to only can plums that have fully ripened and are at the peak of freshness. This will ensure they’re fresh once you remove them from the jars and will provide a semi-soft and sweet taste. Don’t worry about them being too soft though, if you can them properly, your plums should still be somewhat firm.
To Raw Pack or Hot Pack Your Plums?
If you want to can your plums, there are 2 main methods you can use. One is to “˜hot’ pack them, the other is to “˜raw’ pack them.
If you’re not familiar with hot packing, the term refers to the practice of heating any freshly prepared food in boiling water and then letting it simmer for about 2-5 minutes. To hot pack properly, the boiled food needs to immediately be placed loosely in jars.
Let’s explore both options for canning plums to figure out which one is right for you:
Raw Pack
This is as simple as it sounds. Once you’ve completed the preperation steps I’ve listed above, you’ll place your raw plums inside the jars.
The only con to doing this is the fact that your plums will shrink significantly — no matter if they’re canned whole or in halves — during the canning process. Raw packed fruit also tends to lose its shape more easily than fruit that has been hot packed.
However, if you want to go the simple and convenient route, raw packing is the way to go. I usually don’t use this method for plums though, as I care too much about firmness and size when it comes to my plums. I only go with raw packing when I’m canning other fruits such as oranges or pineapple.
Hot Pack
When hot packing your plums, you’ll need to blanch or partially cook them before you can pack them into the jars. When doing this you’ll cause the tissues of the plums to lose some air, which will allow them to be packed tighter and keep them fresher.
Really the only downside to hot packing fruit is that it requires an extra step and can be messier than raw packing. To do it properly, though, follow these steps:
- Bring your canning liquid (water, syrup or juice) to a boil
- Quickly add plums in and return to boil for 2 minutes
- Turn off the heat and put the lid on the pot
- Allow your plums to sit for 20-30 minutes or so, which will help them heat through slowly
- Immediately pack your boiled plums into canning jars
- Top the jars off with your canning liquid (tip: leave at least a ½ of an inch of headspace at the top of the jar)
What Type of Syrup Can You Use to Can Plums?
We touched on this briefly, but there are multiple types of juices and syrups you can use to can your plums in. The liquid you choose will be based heavily on personal preference, as they all can work just as effectively.
In fact, you don’t even need to use syrup or juice at all; you can simply use water. This option is ideal for those who are health-conscious and don’t want the added sugar. Keep in mind though, that if you choose to can with water, the plums might have a “˜washed out’ or more bland taste to them, as water tends to leach some of the natural sugars in the plums themselves.
For me, personally, I like to use extra light syrup, so I can get the sweetness without going overboard. I usually can about 9pints worth of plums, and use about â…“ of a cup of sugar mixed 6 ½ cups of water.
If you don’t mind the added sugar, feel free to can your plums in your favorite fruit juices (grape or apple taste delicious, in my opinion!). No matter what liquid you go with, though, it will need to be heated and ladled over your plums once they’ve been placed in the jars with about ½ of an inch of room at the top.

Canning Your Plums
As I mentioned above, leaving ½ of an inch of space at the top of the jar, once your plums and liquid have been placed inside, is recommended. This ensures your fruit won’t push up into the canning lid and seal it on the inside, as a result.
Once this has been done, you can cap the jars with 2 part canning lids and help them process by giving them a water bath for about 20-25 minutes. Keep in mind, this could be longer depending on the elevation you are in. The higher the elevation, the longer you will need to keep your jars in the water bath.
Next, you will remove the jars to a towel on a flat surface so they can cool properly. You should wait at least 24 hours before you check the seals. Sealed jars should be stored in your pantry, and can be used for 12-18 months.
Excited for more plum content? Then check out our plum trees page for the latest growing tips, care guides, recipes, and more!